


Description
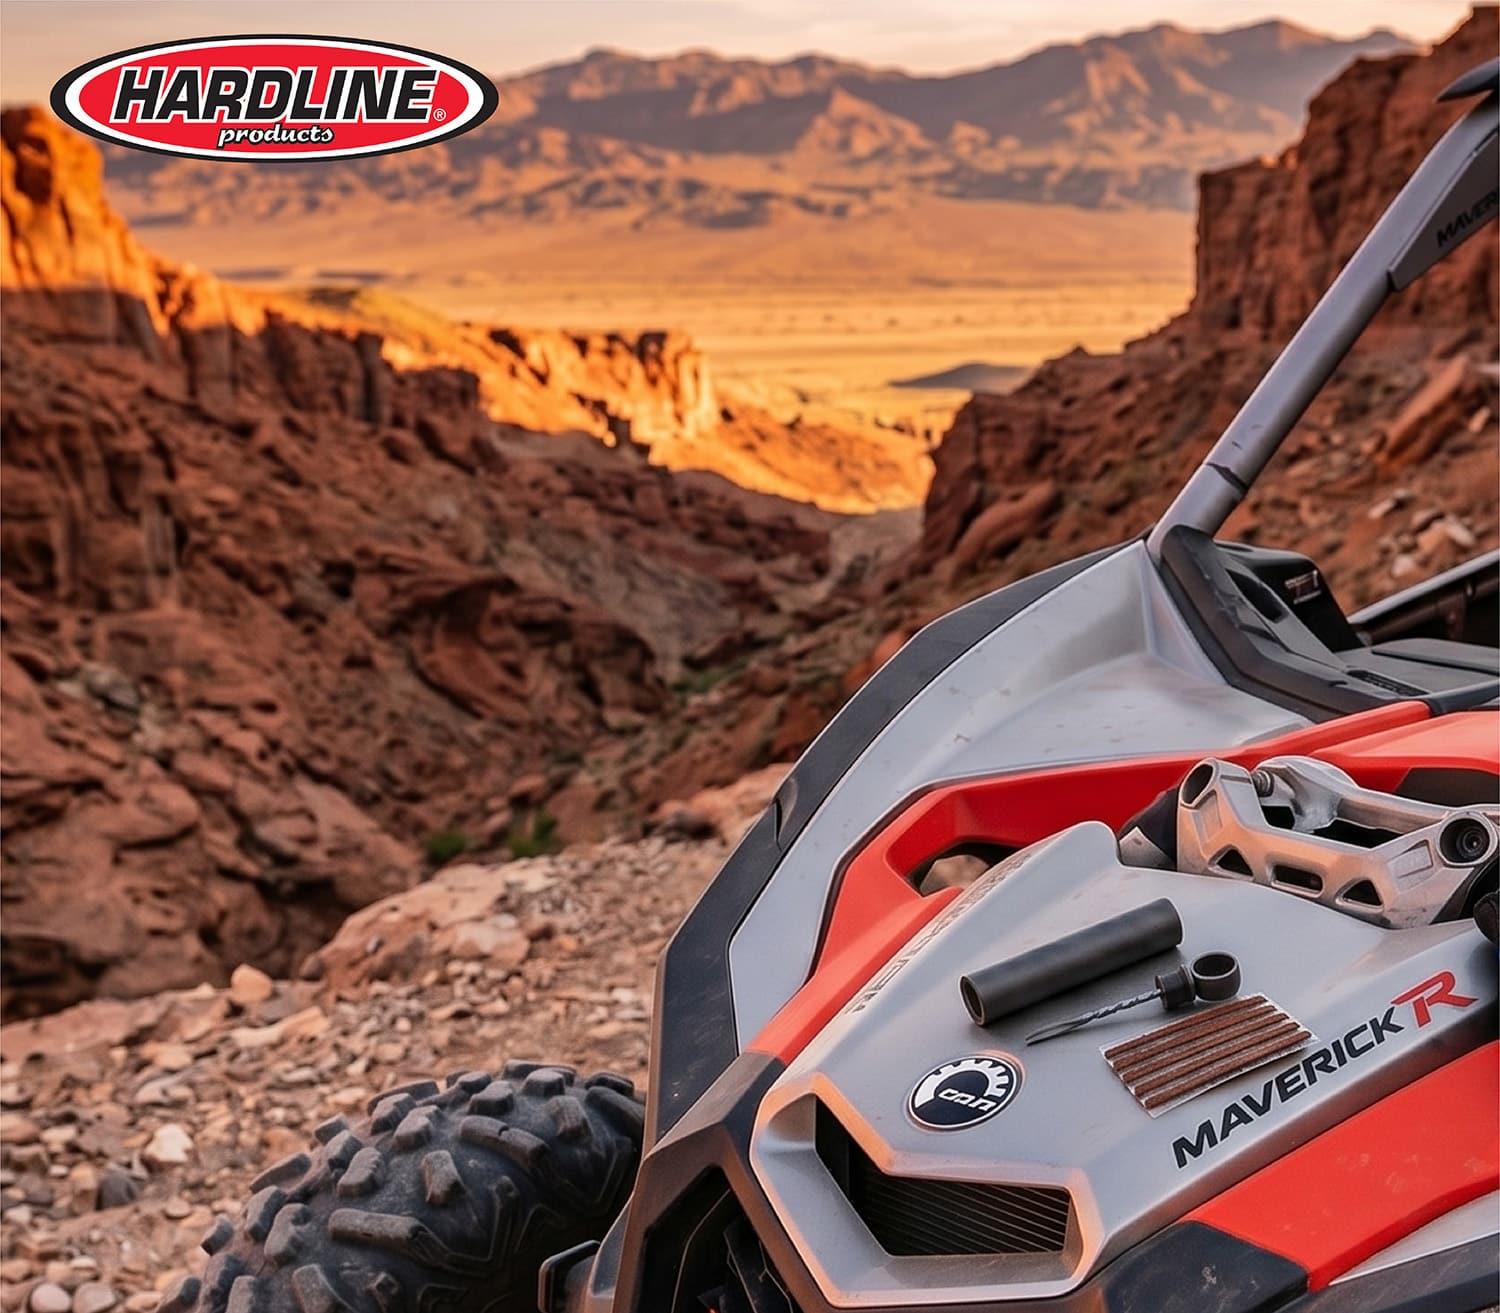
The Airplugger 2.0: The Next Evolution in Compact Tire Repair
Rapid. Reliable. Rugged. The All-In-One Emergency Solution.
Don’t let a puncture end your adventure. Introducing the Airplugger 2.0, the new and improved version of our best-selling emergency tire repair tool. Redesigned for maximum efficiency and durability, the Airplugger 2.0 is the definitive choice for riders and drivers who demand a professional-grade solution in a pocket-sized package.
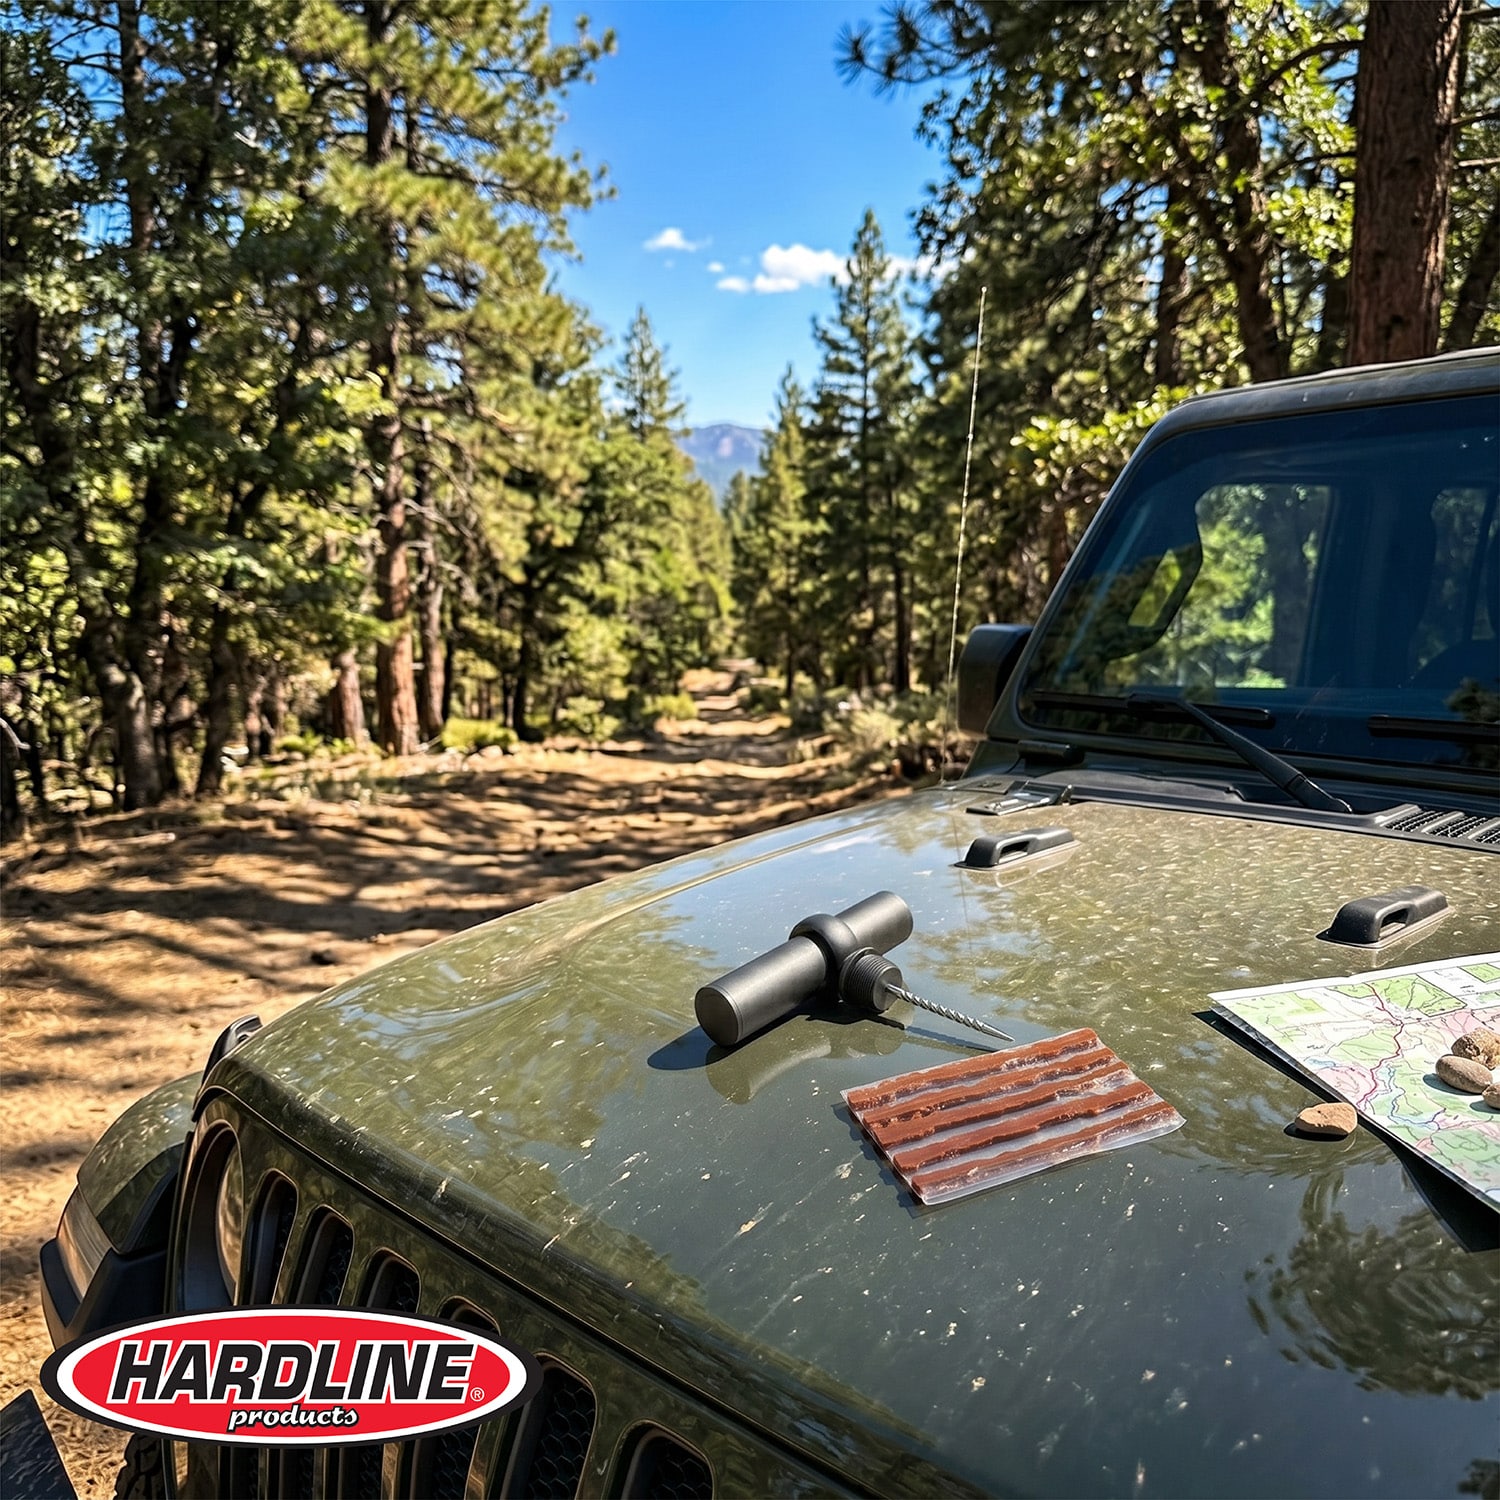
Whether you are navigating remote backcountry trails on a UTV or commuting on a motorcycle, the Airplugger 2.0 provides the peace of mind that you can fix a flat and get back on the road in minutes.
What’s New with Version 2.0?
The Airplugger 2.0 takes everything you loved about the original and refines it for even better performance. We have optimized the ergonomics for a better grip and enhanced the internal storage to ensure your repair kit is always organized and ready for immediate deployment. It is the same “one-tool” philosophy, now precision-engineered for the modern explorer.
Key Features:
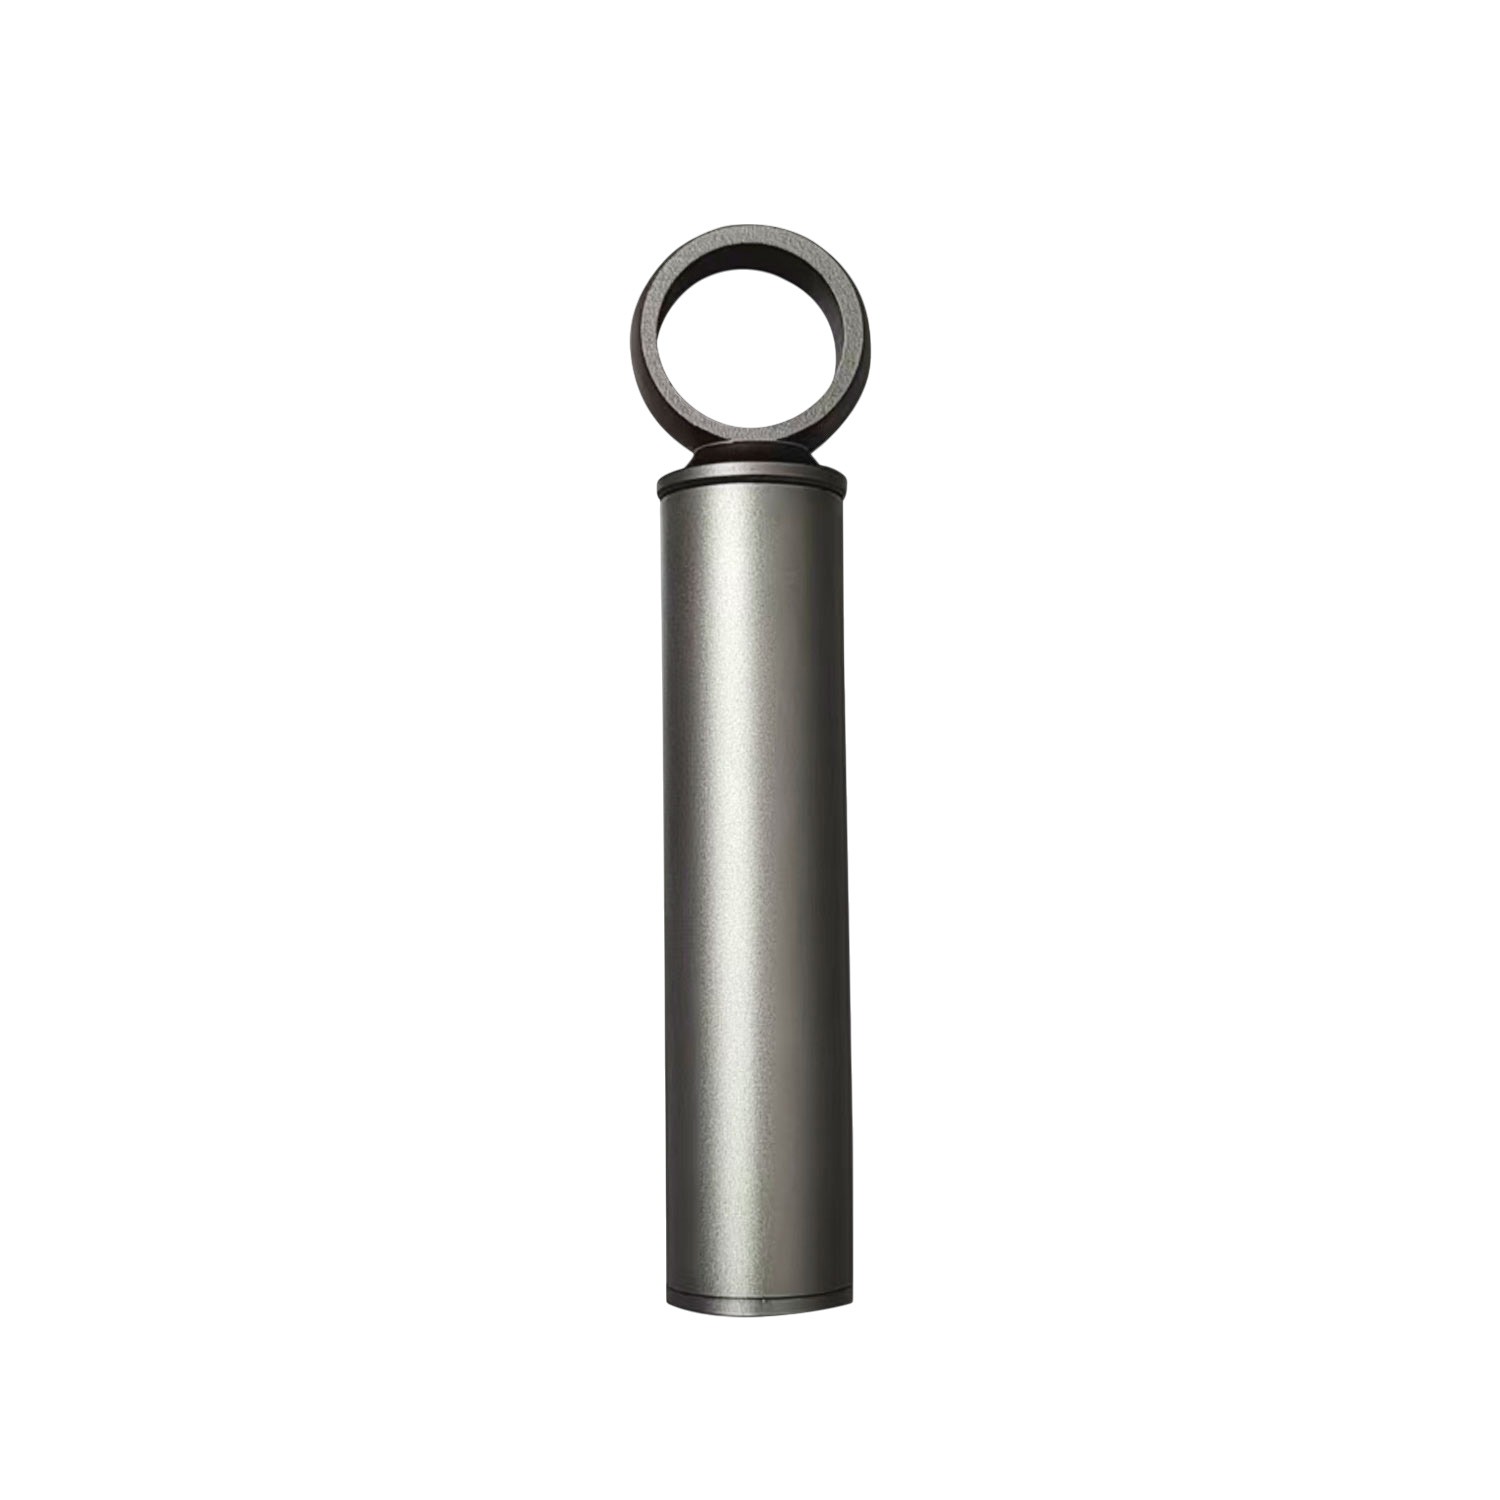
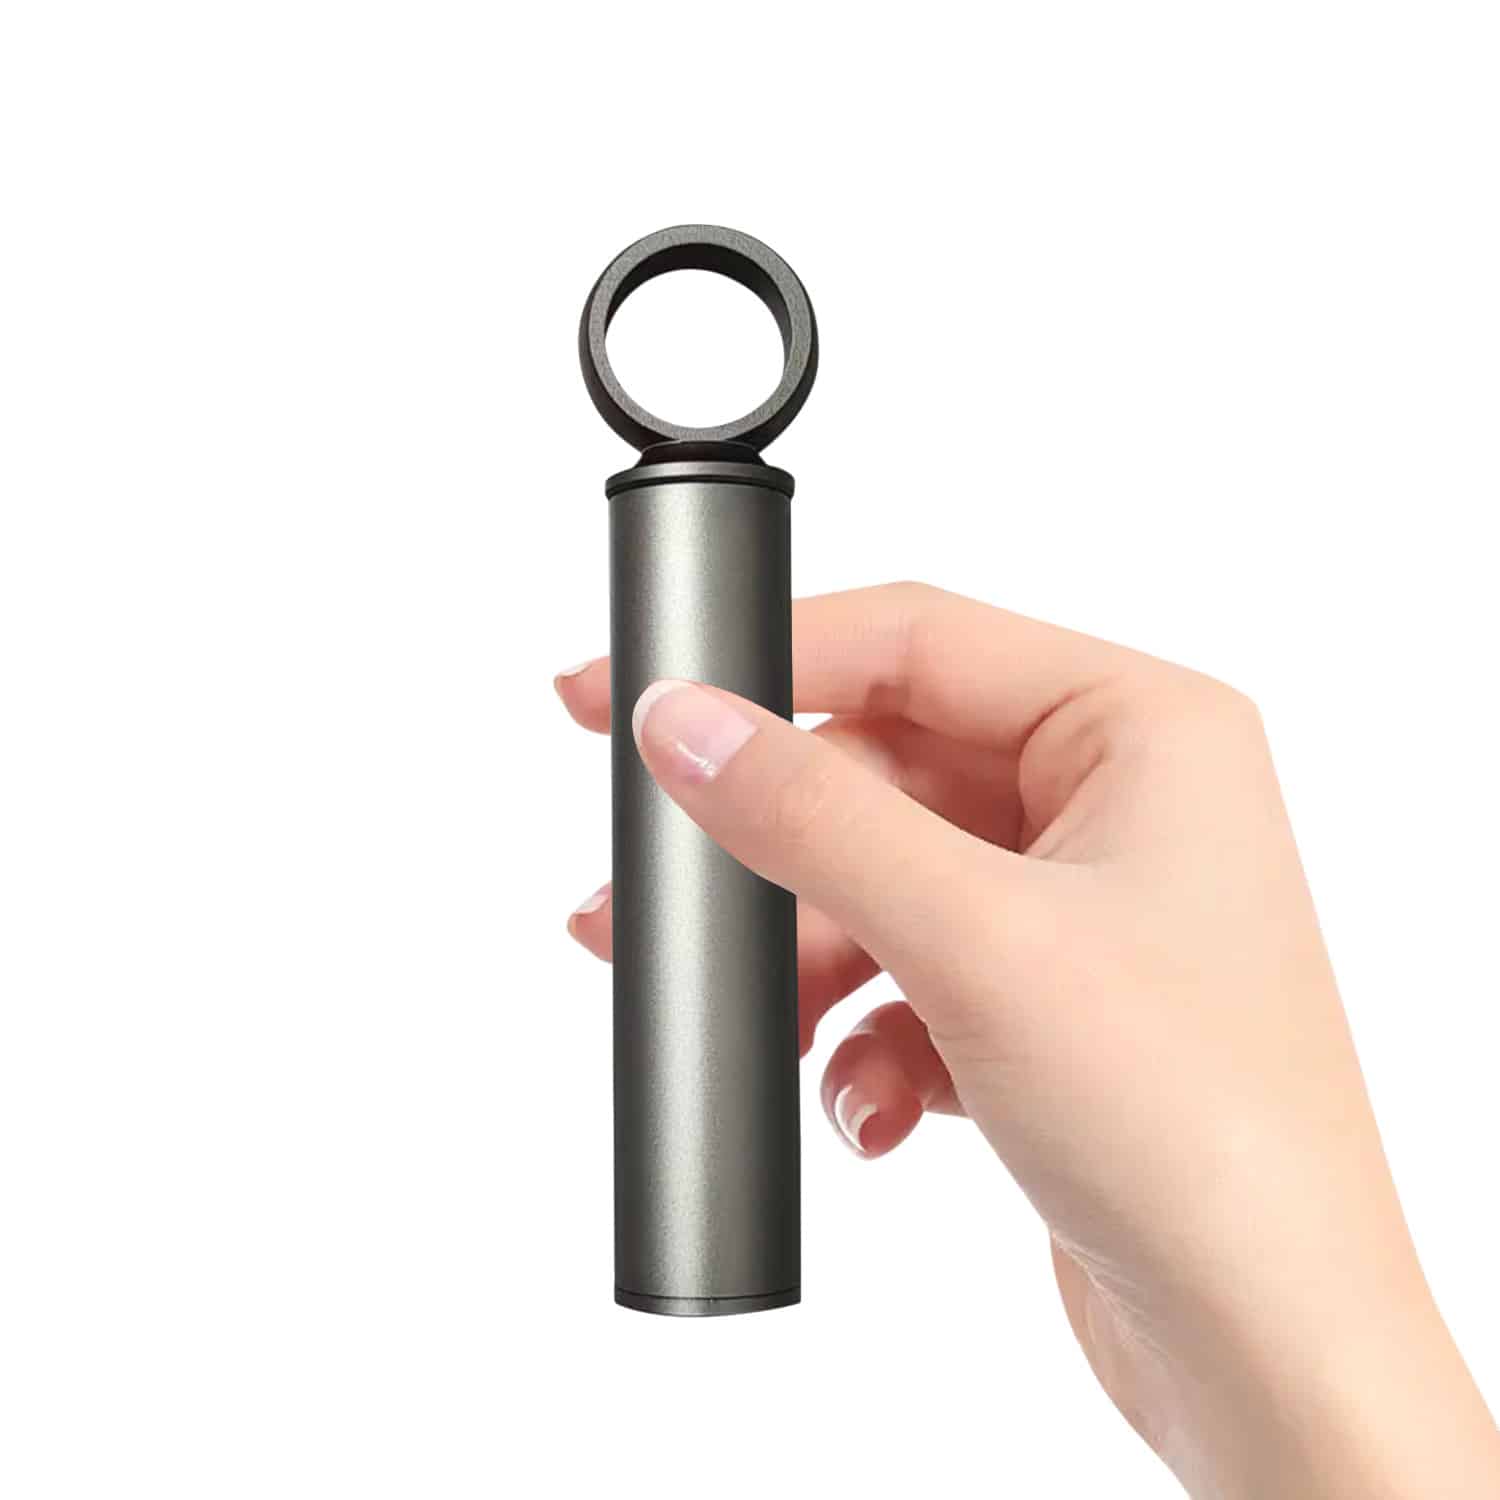
- Ultimate Portability: At just 5 inches long and weighing only a few ounces, the Airplugger 2.0 fits comfortably in your pocket, glove box, or tool roll.
- Precision Engineering: Proudly Made in the USA from high-grade, CNC-machined aluminum for a lifetime of dependable use.
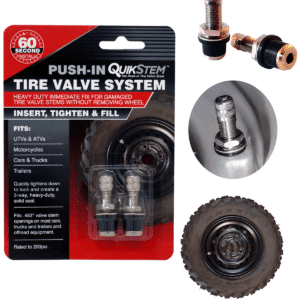
- The “No-Glue” Advantage: Our advanced plugging technology requires no messy glues or cements. Simply plug the puncture and inflate—the plug bonds instantly to the tire casing.
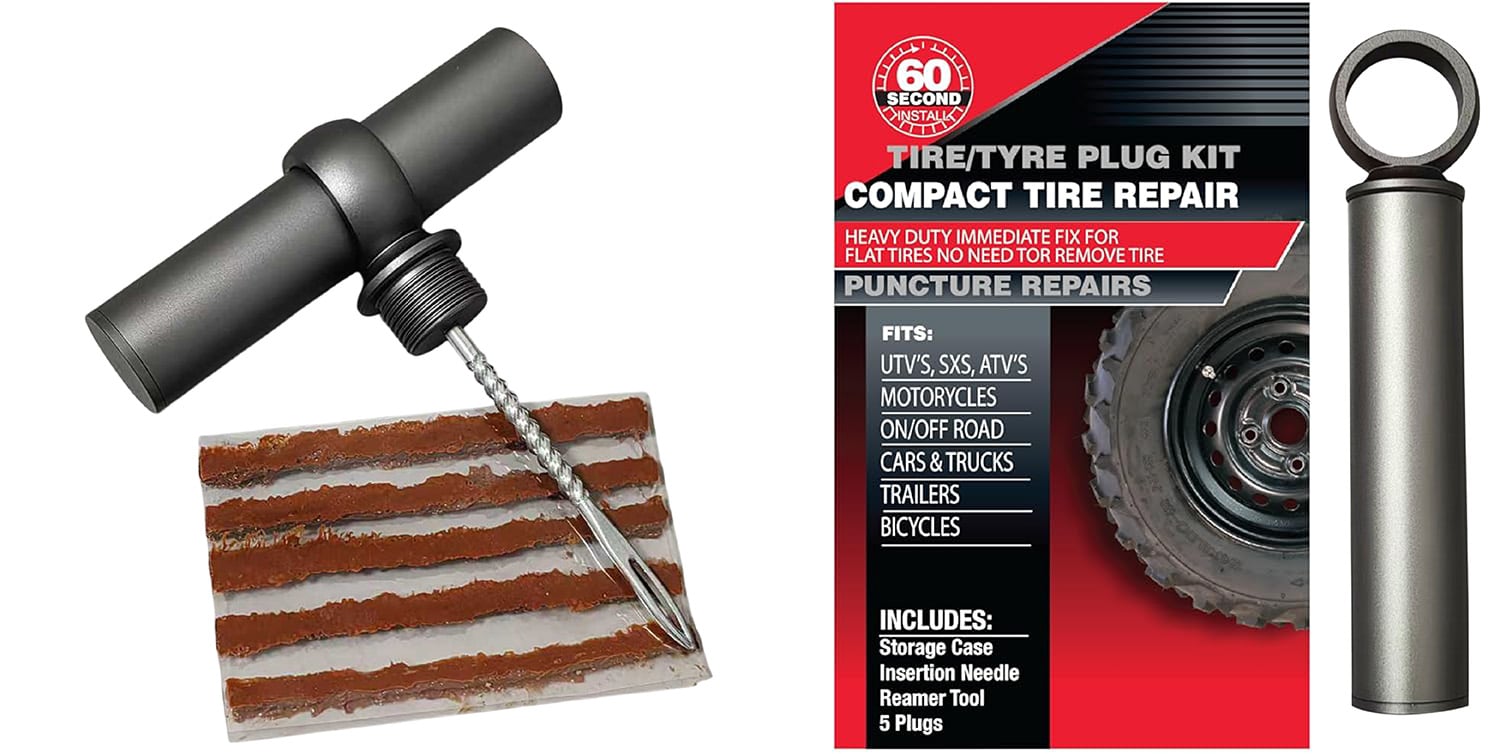
- Universal Application: Designed for all tubeless tires, including Motorcycles, ATVs, SxS, UTVs, Golf Carts, Autos, and Trucks.
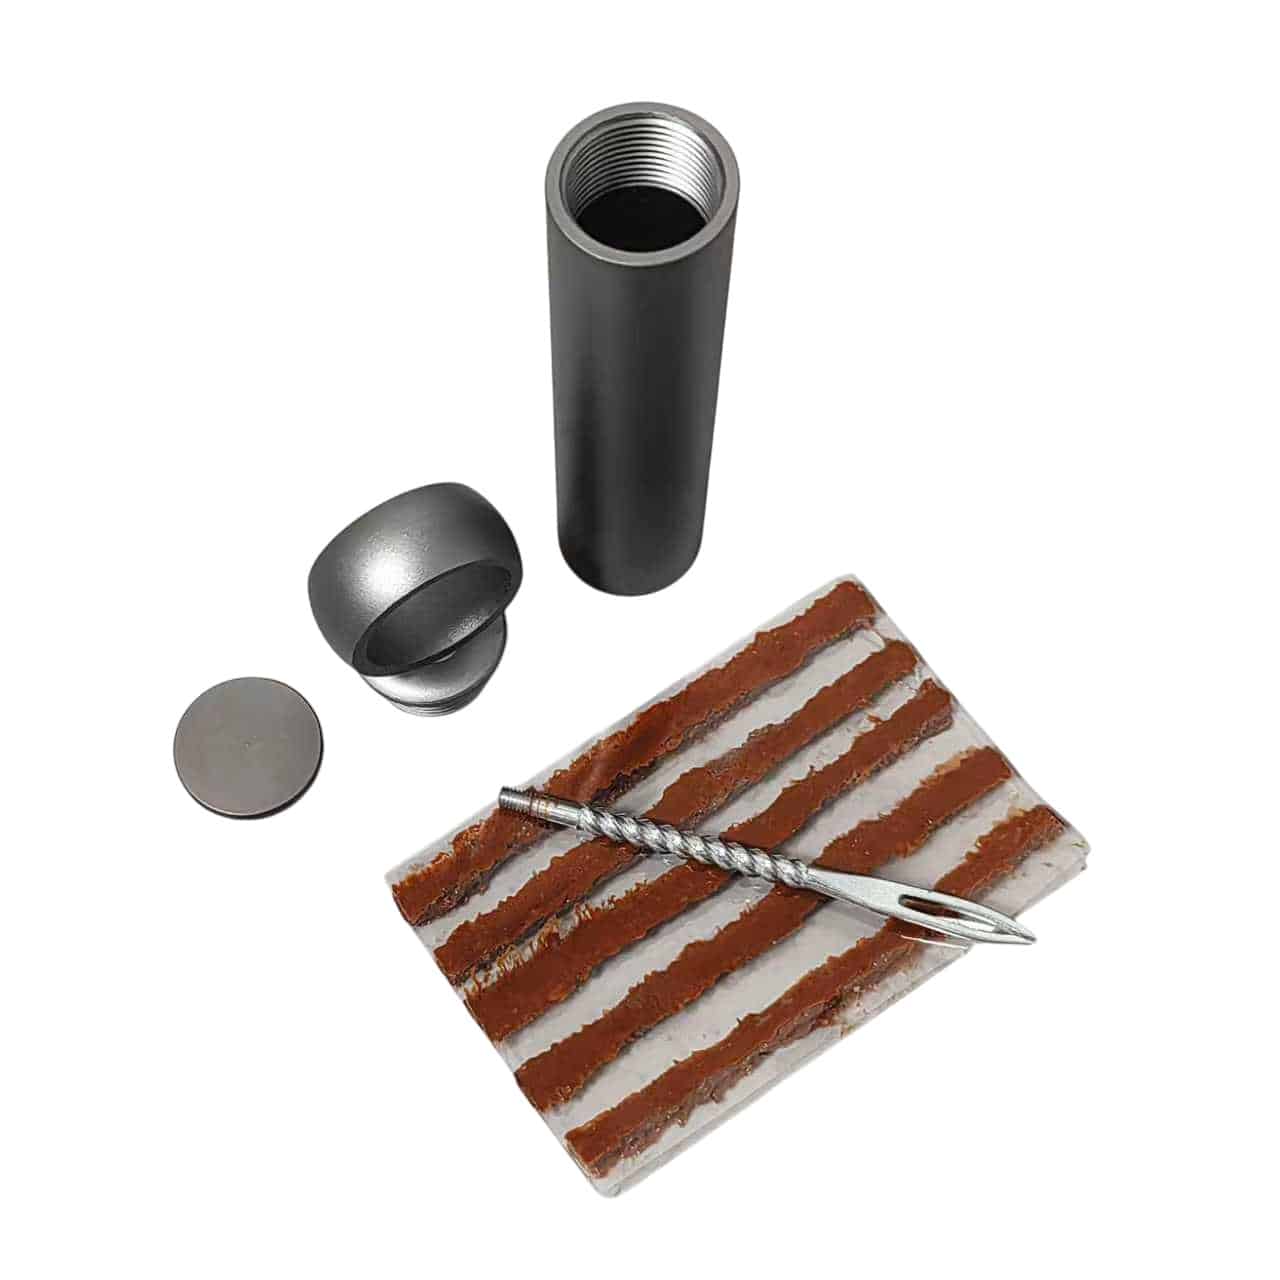
- All-In-One System: The tool body houses everything you need. No more searching for lost components in the bottom of your bag.
Why Choose the Airplugger 2.0?
Traditional tire plug kits are bulky, complicated, and often rely on adhesives that dry up over time. The Airplugger 2.0eliminates these failure points. Its streamlined design combines the insertion tool and storage into a single, sleek unit. When every second counts and space is at a premium, the Airplugger 2.0 is the only tool you need.
What’s Included:
- (1) Airplugger 2.0 Machined Aluminum Tool
- (5) High-Adhesion Tire Repair Plugs
Upgrade your gear today. Experience the reliability of the new Airplugger 2.0—because the best adventures shouldn’t be cut short by a flat tire.
Quick Start Guide
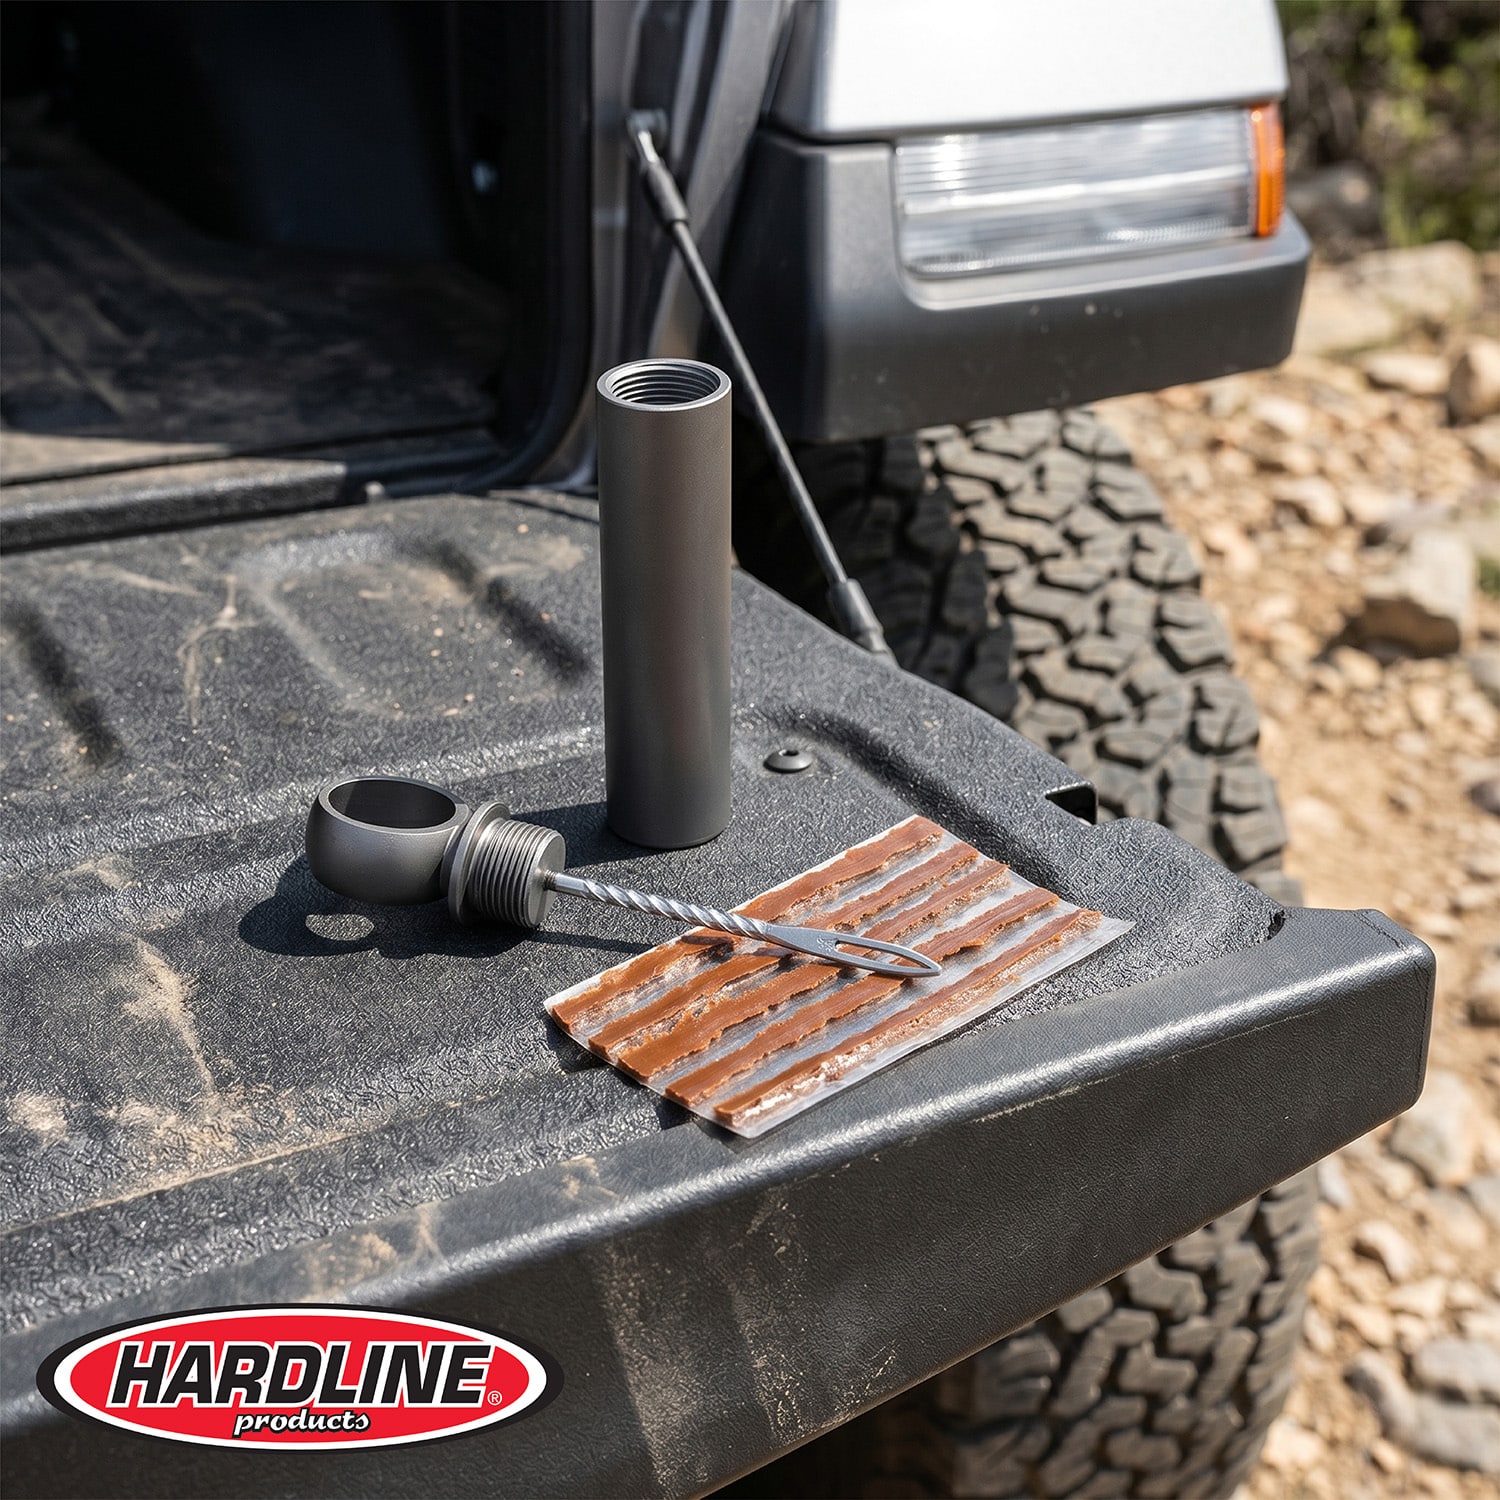
1. Tool Assembly & Preparation
The Pod is designed to be compact for storage but full-sized for use.
-
Unscrew the Top Handle: This contains the integrated reamer and insertion needle.
-
Create the T-Handle: Screw the threaded base of the tool handle into the top of the main Pod body. This transforms the canister into a sturdy handle, giving you the necessary leverage to push through steel-belted tires.
-
Access the Repair Strips: Unscrew the bottom cap of the Pod. Instead of trying to fish the strips out of the top, use your finger to push from the bottom opening. This will slide the internal sleeve and strips out the top for easy, mess-free access.
2. Step-by-Step Repair Instructions
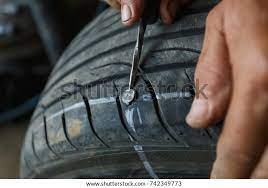
Step 1: Clear the Puncture Locate the nail or debris and remove it.
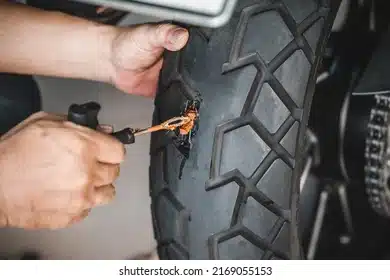
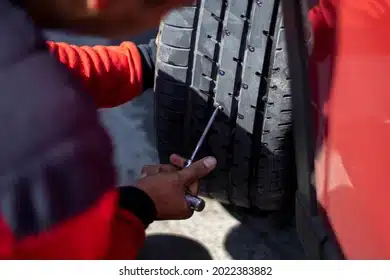
Step 2: Prep the Hole Using your assembled T-handle tool, insert the spiral reamer into the puncture. Move it in and out several times to clean the hole and “rough up” the internal rubber. This ensures a better bond for the plug.
Step 3: Load the Tool Take one vulcanized rubber strip (using the bottom-push method described above) and thread it through the eye of the needle until it is centered.
Step 4: Plug the Leak Push the tool firmly into the tire until roughly 1/2″ (12mm) of the strip is still visible on the outside.
Step 5: Remove & Seal Pull the handle straight out with a quick, snapping motion. The strip will stay behind, filling the puncture.
Step 6: Finishing Up Trim any excess rubber flush with the tire tread. Disassemble the tool, place the remaining strips back in the sleeve, and screw both caps back onto the Pod. Re-inflate your tire to the correct PSI.
3. Pro-Tips for the Road
-
The Finger Push: If the strips are tightly packed, pushing from the bottom prevents them from tearing or losing their adhesive coating.
-
Leverage is Key: Always ensure the handle is screwed tightly into the Pod body before pushing into the tire to avoid stripping the threads.
-
Check the Seal: Carry a small bottle of water; a few drops over the repair will show bubbles if air is still escaping.
Installation & Compatibility
Q: What can I use this Tire Plug kit on? A: The Hardline Products AirPlugger kit is great for Motorcycles, ATV’s, SxS, Trailers, Automobiles and Tractors. Any pneumatic tire that needs to be plugged.
Features & Operation
Q: How do I open the tool? A: Turn the top counter clockwise to unscrew the top exposing the 5 repair strips inside the barrel.
Q: How do I use the plugger? A: After you have opened the top slide the ring of the reamer needle onto the barrel. This makes for a nice handle for your hand. Insert the reamer tool into your tire hole and push it in and out a few times to roughen up the inside edges of your hole in the tire. Insert one tire plug through slot in reamer like you are threading a needle. Push tire plug into hole in your tire, push all the way through to the inside of the tire and then pull back the reamer until tire plug is coming out of the hole. Trim off extra tire plug with a knife or razor blade. Inflate tire to factory settings labeled on the side of the tire.
Q: Why is there no glue with your tire plugging kit A: Glue is not required and messy. Our kit features tire plugs that are pre-glued so it is easier to work with.
Q: Will dirt stay out of the kit when the top is on? A: Yes, the Airplugger tool has a threaded top that keeps dirt and debris out of your tire plugs and helps them stay fresh.
632194731011
B0FB48VLPY